When you’re out in nature and your need for water becomes unbearable, obtaining clean drinking water turns from being important to being essential for your survival. In these instances, it’s vital to know how to cleanse water with the materials available. Whether you’re embarking on a scheduled trip or unexpectedly find yourself in a challenging situation, knowing how to purify water can be the key to staying safe versus being in harm’s way. Possessing the appropriate equipment and understanding its proper use can guarantee your safety, regardless of the path your journey may follow.
Essential Tools for Water Purification
Before venturing into the wilderness, it’s crucial to pack reliable water purification tools. One of the most versatile tools you can carry is a portable water filter. These devices come in various forms, each suited to different situations. Pump filters, for example, are particularly useful because they allow you to draw water from almost any source, push it through a filter, and collect clean water in a separate container. These filters are highly effective at removing bacteria, protozoa, and in some cases, even viruses, making them a valuable asset in any survival kit. Gravity filters, on the other hand, are excellent for group use. They work by letting gravity pull the water through the filter, processing larger volumes of water with minimal effort. This method is particularly convenient when you’re stationary at a campsite or need to supply water to several people. Straw filters, which are highly portable and easy to use, offer another option. You can drink directly from the water source by placing the straw into the water, filtering it as you sip. This method is ideal for quick hydration while on the move, especially if you’re traveling light.
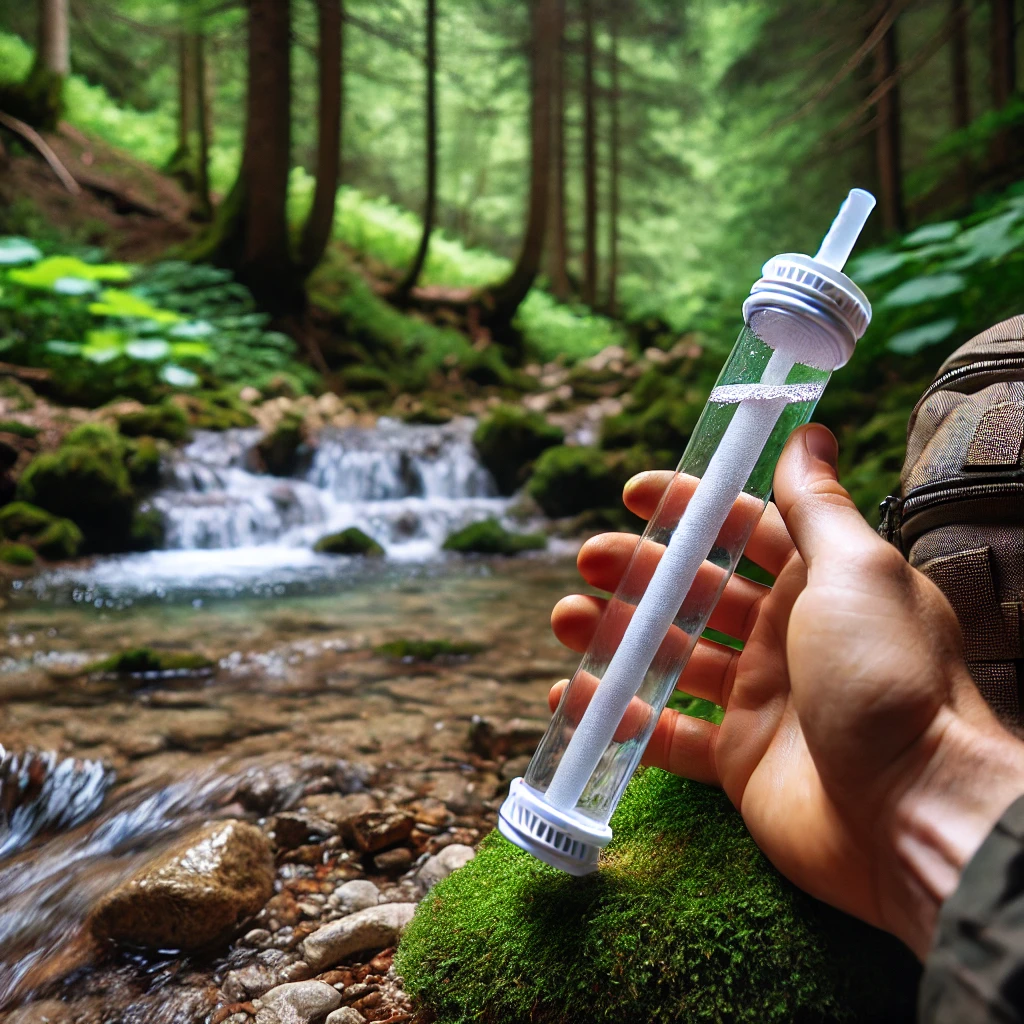
In addition to pocket filters, chemical purification tablets are an essential tool for any survivalist. These tablets, which frequently contain iodine, chlorine, or chlorine dioxide, are small and highly effective at killing a variety of infections. To use them, simply add the necessary dose to your collected water and wait the specified amount of time, which is usually between 30 minutes and several hours. The procedure is simple: the chemicals enter the cell walls of hazardous germs and render them harmless. While these tablets are extremely efficient against bacteria and viruses, they may not eliminate chemical pollutants and might occasionally leave an unpleasant taste in the water. However, their ease of use and efficiency in most scenarios make them an essential component of any survival pack.
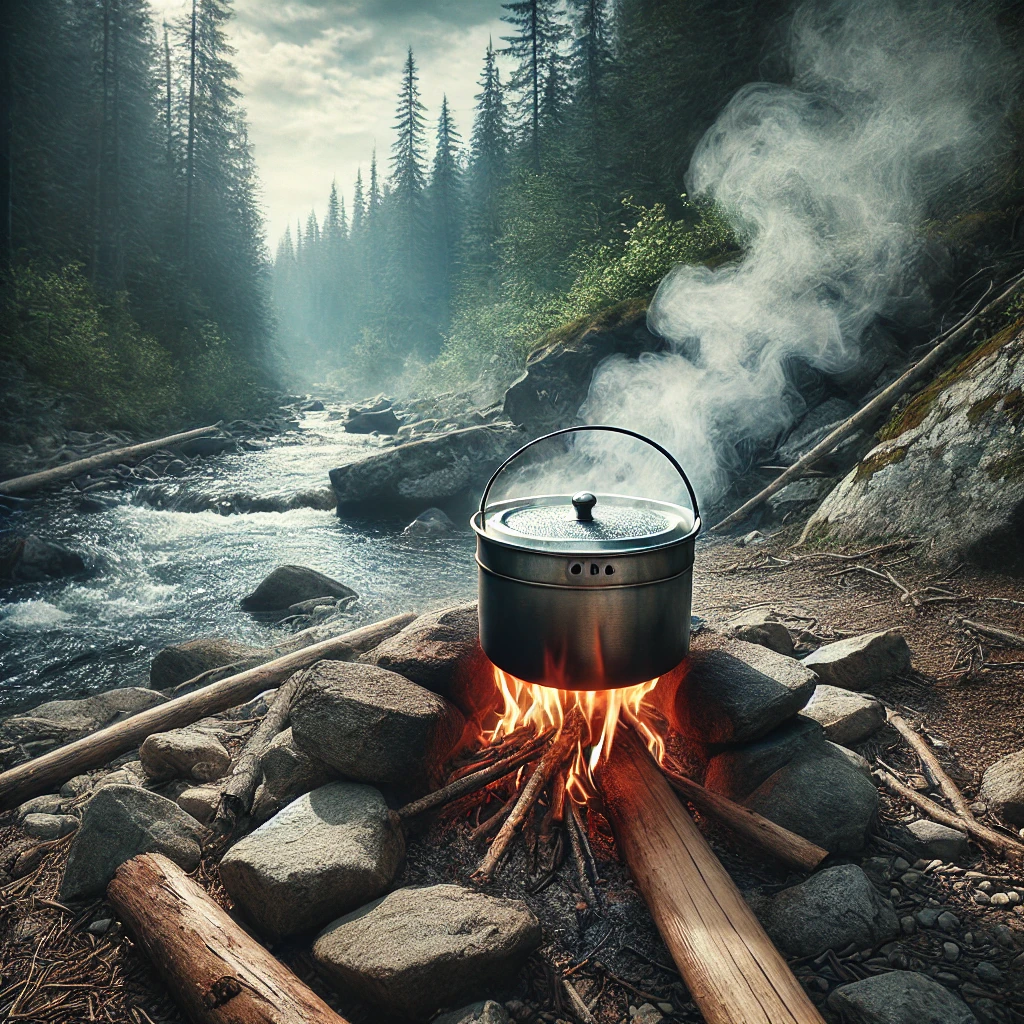
A metal container, such as a saucepan or a sturdy water bottle, is also required because it allows you to boil water. Boiling is one of the oldest and most dependable techniques of eliminating dangerous organisms such as bacteria, viruses, and protozoa. To purify water by boiling, gather it in a metal container and bring it to a rolling boil. At lower elevations, maintaining the boil for at least one minute is acceptable; however, if you are at higher altitudes where the boiling point is lower, it is recommended that you boil the water for three minutes. Boiling is particularly successful at neutralizing biological contaminants, however it does not remove chemical pollutants. This method is a cornerstone of wild water treatment due to its simplicity and reliability.
Purifying Water Without Specialized Tools
Even if you don’t have your standard purification tools, there are a few things you can do to make sure your water is drinkable. One of the most common procedures is boiling. Water can be purified by boiling if you have a heat-resistant container and a fire source. The procedure is simple: bring the water to a rolling boil and maintain it there for at least one minute, or three minutes if you’re at a high altitude. Boiling eliminates most germs, making the water safe to drink, but it does not eliminate chemical pollutants. In a pinch, you can use a range of containers, from metal pots to even certain robust plastic bottles, provided you carefully handle the heat.
Another option to investigate is solar disinfection, often known as SODIS. This technique is especially handy if you have clear plastic bottles and are in a sunny location. The goal is to fill the bottles with pure water and place them in direct sunshine for at least six hours. UV rays from the sun permeate the water and damage the genetic material of hazardous microbes, preventing them from multiplying and causing illness. Essentially, sunshine serves as a natural disinfectant, making the water safe to drink. However, on gloomy days, this method is less successful, and the water must be somewhat clear, as particles in muddy water might block UV radiation.
You can use a piece of cloth or a bandana to filter out large particles if your water supply is murky or full of trash. This stage is crucial because it aids in the removal of visible contaminants, increasing the efficacy of further purification techniques like boiling or chemical treatment. Pour the water through the cloth that has been stretched over the lip of your container to do this. Larger particles will be captured by the cloth, making your water clearer and simpler to clean. Although the water won’t be safe to drink using this approach alone, it’s an important initial step in the filtration process.
Improvised distillation works well in instances when a more thorough purification technique is required, especially when working with water that may contain chemicals, heavy metals, or salts. In the process of distillation, water is heated to produce steam, which is then captured as it condenses back into liquid. This approach eliminates biological pollutants while also filtering out chemicals and even salts, making it a useful tool in cases when the quality of the water is extremely doubtful. A simple still can be constructed with a metal pot, a smaller container to hold the distilled water, and a cover to keep out steam in order to distill water. Although the procedure takes a while and needs a heat source, but this is one of the most complete ways to guarantee the safety of the water.
There are situations where using natural filtration techniques may be necessary. For example, layering gravel, sand, and charcoal to create a basic sand filter can be a useful method of eliminating certain diseases and sediments. This kind of filter can be excavated into the ground or constructed using a container. It can greatly enhance the safety and purity of your water before using more purification methods like boiling or chemical treatment, even if it won’t cleanse it to the same extent as other ways.
With these techniques and equipment for purifying water at your disposal, you’ll be ready to face the wilderness. Adaptability is crucial, whether you can use natural methods like boiling or solar disinfection or have access to portable filters and tablets. Gaining proficiency in these abilities guarantees that, wherever you are, there is always access to clean drinking water. Remain alert, have faith in your abilities, and never forget that having access to clean water is essential to your survival. Remember these pointers the next time you go exploring the outdoors!






1 Comment
I just wanted to say a huge thanks for the article. It’s seriously one of the most helpful things I’ve read before heading out on my trips. The way you broke down all the different methods made it super easy to understand, and I feel a lot more prepared now.
Thanks for putting in the time and effort to create something so useful. It’s definitely going to be a go-to resource for me.