When disaster strikes, whether it’s a natural calamity, an economic collapse, or even a widespread pandemic, preppers know that survival hinges on more than just stockpiling supplies. You need the skills and knowledge to handle medical emergencies when help is miles away or non-existent. One of the most critical aspects of survival is mastering first-aid, especially when it comes to treating broken bones and using natural antibiotics. Without these life-saving skills, even minor injuries can quickly spiral into life-threatening conditions.
Imagine you’re deep in the woods, setting up a shelter, and a tree limb falls, fracturing your arm. In a regular scenario, you’d rush to the ER. But in a crisis, that option might not exist. Hospitals could be overrun, roads impassable, or medical supplies exhausted. This is where your first-aid training becomes invaluable.
For preppers, first-aid isn’t just about applying bandages; it’s about having the knowledge to manage severe injuries like broken bones and infections on your own. Understanding the fundamentals of emergency care and survival first-aid is key to your long-term survival.
In any survival situation, your ability to remain calm and act decisively can significantly improve your chances of recovery. Panic often makes injuries worse, while a steady mind can help you think clearly, assess the situation, and apply the right treatment. First-aid in a survival scenario also means making do with limited resources. Without modern medical equipment, you’ll have to rely on ingenuity and your prepping essentials.
Beyond physical skills, first-aid for preppers provides immediate solutions and builds confidence, knowing that you can handle emergencies in the absence of professional help.
Treating Broken Bones in Survival Situations
In a survival scenario, broken bones are more common than you might think. Falls, accidents with tools, or even defending yourself can result in fractures. If you or a family member suffers a broken bone, knowing how to splint and stabilize the injury can be the difference between life and death.
Types of Fractures:
Understanding the type of fracture is critical in determining the appropriate first-aid response. Fractures are broadly categorized into:
Simple fractures: where the bone breaks but doesn’t puncture the skin.
Compound fractures: where the bone pierces through the skin, increasing the risk of infection.
Stress fractures: which are small cracks in the bone due to repeated strain.
Each of these types requires different approaches, especially in a survival setting. Compound fractures necessitate immediate action to clean the wound and prevent infection, while simple fractures might allow for more gradual care.
Treating a Broken Nose
A broken nose is a common injury in survival situations, especially in scenarios involving falls or physical altercations. Although not as life-threatening as a compound fracture, it still requires immediate attention to prevent complications such as excessive swelling, breathing difficulties, or infection.
Here’s how to treat a broken nose:
- Stop the bleeding: If your nose is bleeding, lean forward to prevent the blood from running down your throat. Apply pressure to the soft part of your nose, just below the bridge, to help stop the bleeding. Do this for about 10-15 minutes.
- Apply a cold compress: To reduce swelling and numb the pain, apply a cold compress to your nose and the surrounding area. Be careful not to press too hard, as this may cause further damage. Use cold water or any available source of coolness from your surroundings, such as a cold stream or even snow, if you don’t have access to ice.
- Realign the nose (if necessary): If the nose looks crooked or off-center and you’re in an extreme survival situation where medical help may not be available for an extended time, you might need to try and realign it yourself. Gently hold both sides of the nose with your thumb and index finger and attempt to straighten it. Do this only if necessary and with extreme care, as improper handling could worsen the injury.
- Control swelling: Keep your head elevated as much as possible to reduce swelling. Avoid lying down flat, as this can cause blood to pool in the affected area, worsening the swelling.
- Monitor for further symptoms: After initial treatment, watch for symptoms such as difficulty breathing through the nose, severe pain, or signs of infection (such as pus or increasing redness). If these symptoms occur, you may need to seek medical attention as soon as possible.
- Rest and avoid further injury: Avoid physical activities that could result in further trauma to the nose, as this could make the injury worse.
Step-by-Step Guide to Splinting a Broken Bone
1. Assess the injury: Look for signs of a break: unnatural positioning, swelling, or visible bones in case of an open fracture. The faster you assess, the faster you can act.
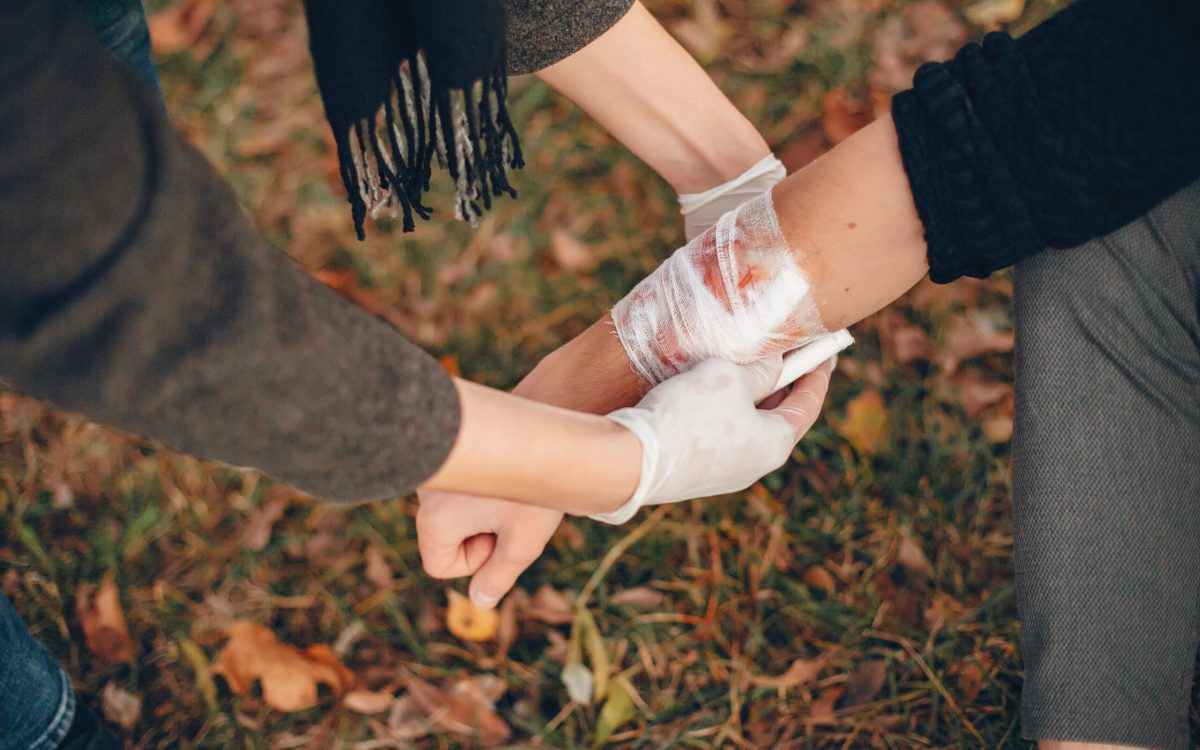
2. Immobilize the area: Use a stick, branch, or any hard material available as a splint. Wrap it around the injured limb using cloth, bandages, or rope from your prepping essentials. Ensure it’s tight enough to hold the limb in place but not so tight that it restricts blood flow.
3. Elevate and monitor: If possible, elevate the injured limb to reduce swelling. Regularly monitor for any signs of worsening, such as changes in skin color, severe swelling, or loss of feeling. Check the splint frequently to ensure it’s supporting the injured area properly.
Real-Life Story
In the 1990s, an experienced hiker named Joe Simpson broke his leg while climbing in the Andes. Miles from help, he had to create a makeshift splint and drag himself to safety over several days. His knowledge of how to splint a broken bone and self-manage his pain saved his life. This is the kind of situation where first-aid knowledge could make all the difference between survival and fatal injury.
Once you’ve stabilized the bone, the next step is pain management. In a crisis, over-the-counter medications like ibuprofen or acetaminophen may be your go-to for pain relief. However, in long-term survival situations, these supplies will dwindle, and you’ll need to rely on natural antibiotics and pain relievers from your environment.
Managing Pain and Swelling in a Crisis
In addition to immobilization, controlling pain and swelling is vital in the early stages of injury. If you don’t have access to painkillers, certain natural remedies can provide relief. For example, willow bark contains salicin, a compound similar to aspirin, and has been used for centuries to treat pain and inflammation. To use it, you can brew a tea by boiling the bark in water.
Another natural option is ginger, which has powerful anti-inflammatory properties. If you have access to ginger roots, steep them in hot water to create a soothing tea that can help reduce swelling and manage pain.
The Role of Natural Antibiotics
With modern medicine possibly out of reach, knowing how to treat infections without pharmaceuticals is crucial. Open fractures or wounds increase the risk of infection, which can quickly become fatal if not treated. Luckily, Mother Nature has provided us with several antibiotics alternatives that preppers should know.
Garlic
Garlic is one of the most powerful natural antibiotics available. It contains allicin, a compound that fights bacteria and infections. In fact, garlic has been used for centuries to combat various diseases, long before the advent of modern antibiotics. To use garlic, you can crush a clove and apply it directly to the wound or consume it raw to help your body fight infection from the inside.
Honey
Honey, particularly raw or Manuka honey, is another powerful natural antibiotic. Honey has natural antibacterial properties and can be applied directly to wounds to prevent infections. Studies have shown that it can kill a wide range of bacteria, including some antibiotic-resistant strains. This makes it an essential item for any prepper’s medical prepping supplies.
Identifying and Using Natural Antibiotics
In the wild, knowing how to identify natural antibiotics is crucial. Certain plants, herbs, and fungi possess medicinal properties that can be life-saving. Yarrow, for example, grows in many parts of North America and can be used to stop bleeding and treat infections. The leaves can be chewed and applied directly to wounds, acting as a natural antibacterial agent.
Incorporating these natural remedies into your survival first-aid plan will provide you with additional tools when pharmaceuticals are unavailable. Understanding the terrain and environment you plan to survive in will allow you to maximize these natural resources.
Prepping Essentials: What You Need in Your First-Aid Kit
Your survival first-aid kit should be more than just Band-Aids and alcohol wipes. In a true survival situation, you need a comprehensive kit tailored for medical prepping. Essential items include:
– Splints or materials to make them(such as sticks and bandages)
– Sterile bandages and gauze to cover wounds and prevent infection
– Antiseptics like hydrogen peroxide or iodine for cleaning wounds
– Pain relievers, both over the counter and natural alternatives
– Honey or other natural antibiotics for infection control
– Tourniquets, in case of severe bleeding
Additionally, it’s essential to rotate your medical supplies regularly, ensuring nothing has expired or lost effectiveness. Keeping a survival journal with expiration dates of medications and natural remedies you’ve prepared can ensure you are always stocked and ready.

