
It’s crazy how fast it can happen. One second, everything’s working, lights are on, fridge is running, you’re scrolling through your phone, and then boom. Total silence. No power. No signal. Nothing. An EMP doesn’t give you a heads-up. It just hits, and everything with a circuit is toast. Cars stall. Generators don’t even get the chance to kick in. Phones, radios, all of it, gone. And if you’re not ready for that kind of blackout, you’re in serious trouble. Not just without power, but completely disconnected and on your own.
The truth is, most homes offer zero protection against an EMP. We’re surrounded by wires, circuits, and fragile tech that just wasn’t built for this kind of event. And while the idea of shielding your entire house might sound good, it’s rarely realistic, especially if you’re on a budget. But here’s the good news: you don’t need to harden the whole place. Creating just one EMP-proof room can be a complete game-changer. A safe, shielded space where your radios, solar chargers, flashlights, and backup gear survive the blast and work when you need them most.

For most preppers, that room is the difference between starting over and staying one step ahead. And building it doesn’t have to cost a fortune. All it takes is the right approach, the right materials, and a little bit of effort. Let’s break down how to do it, without breaking the bank.
What an EMP Would Do to Your Home

An electromagnetic pulse, what most folks call an EMP, isn’t just another power outage. It’s a blast of energy that can come from something like a high-altitude nuke or even a big solar flare, and it has the power to knock out anything with a circuit. And I don’t mean just the lights flickering. I mean everything, cars, phones, appliances, the whole grid, shut down in seconds. No warning, no countdown, no chance to react. One invisible pulse, and it’s lights out across the country.
The damage hits deeper than most people think. Your home’s wiring, appliances, water heater, fridge, and even backup generators can all be fried in an instant. Cars might stop running. Communications are wiped out. Anything plugged in or dependent on microelectronics is at risk. It’s not just about power; it’s about survival systems being knocked out before you can react.
Other Article: 6 Ways to Protect Your Home from Looters During a Blackout
Trying to shield your entire house from this kind of event is, frankly, unrealistic. The cost, time, and technical know-how make it nearly impossible for most people. But shielding a single room? That’s doable. It’s a smart, focused way to preserve the gear that keeps you informed, lit, and connected when the rest of the world goes silent. And that’s exactly why every serious prepper should consider putting together a small, protected space, something functional, efficient, and reliable when it counts.
Choosing the Right Room to Shield
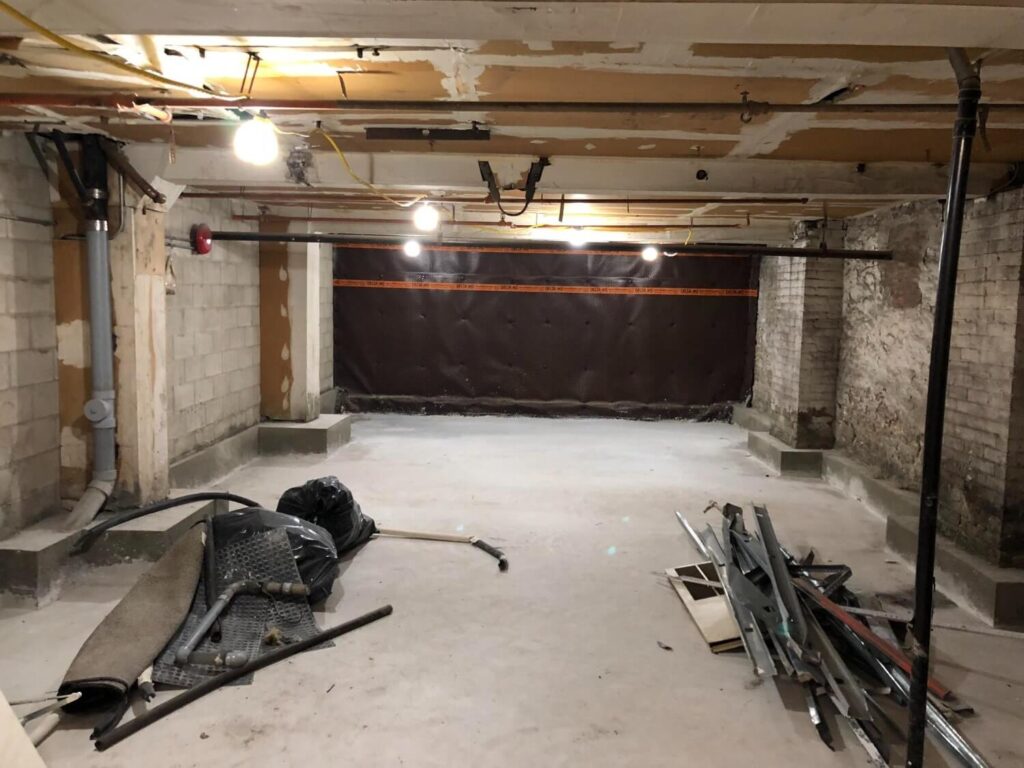
If you’re going to put in the work to protect against an EMP, the last thing you want to do is waste effort on the wrong space. The smartest move is to think small, because smaller rooms take less material, less labor, and way less money to shield properly. You’re not building a bunker here; you’re creating a tight, efficient shelter for critical gear. That’s where strategy matters.
The best candidates are usually rooms that don’t see much daily traffic. Think of closets, basements, or even a spare storage area. Interior rooms work best because they already have fewer exposure points, fewer windows, fewer outside walls, and often less wiring. A small, windowless closet might not look like much now, but after a proper shielding job, it could hold the gear that keeps your family connected and protected.
Other Article: In a Crisis, You’re the Only Medic You Can Trust
On the flip side, avoid rooms with lots of electrical wiring running through the walls or ceilings, as those can act like antennas during an EMP event. The same goes for rooms with multiple windows, exterior doors, or HVAC vents, you’d end up chasing vulnerabilities instead of controlling them. Pick a space you can realistically isolate and shield completely. That’s where the real protection starts.
What You’ll Need (That Doesn’t Break the Bank)

One of the best things about building an EMP-proof room is that you don’t need to spend thousands of dollars on military-grade equipment. With the right approach, you can get real protection using materials that are easy to find, affordable, and surprisingly effective. This isn’t about perfection, it’s about smart layers of defense that give you a real shot at keeping your critical gear safe.
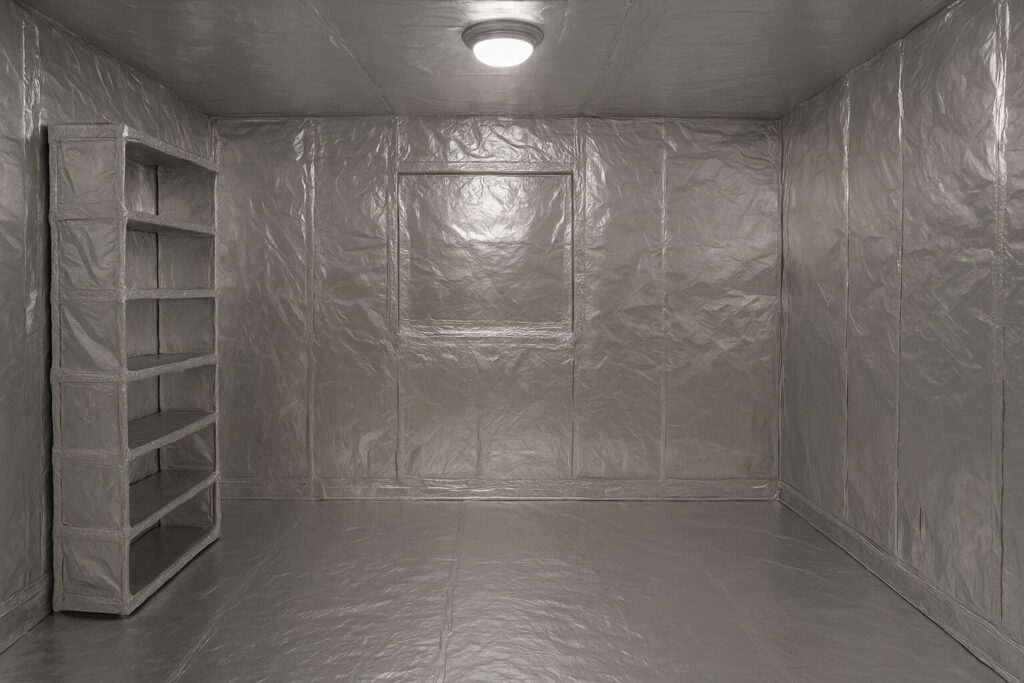
Start with the basics: heavy-duty aluminum foil or foil-backed insulation will do the heavy lifting. It acts as a reflective shield that bounces electromagnetic energy away from your space. You’ll need conductive tape to seal the seams, this part is crucial because even small gaps can leak energy. To protect the foil from being torn or damaged over time, line the interior with plywood or cardboard once the shielding is in place.
Ventilation is where a lot of folks mess up. Instead of blocking airflow completely, cover any vents with fine metal mesh. This lets air move while still stopping electromagnetic waves, think of it as a breathable Faraday barrier. And for the floor, throw down a non-conductive mat (like rubber or heavy vinyl) to keep your stored items isolated from any grounding points.
The essentials are simple: foil, tape, and mesh. The plywood and mats help long-term, but can be added later if you’re tight on cash. Most people can put together a decent small-room setup for under $150, depending on the size and what you already have lying around. For preppers on a budget, this level of DIY EMP protection offers serious peace of mind without wrecking your wallet.
Step-by-Step: How to EMP-Proof the Room
Once you’ve picked your spot and got your supplies together, it’s time to turn that room into a real EMP-proof room. The work’s not all that complicated, but you’ve got to take your time and do it right. One loose corner, one tiny gap in the foil, that’s all it takes to let that pulse sneak in and ruin everything you’re trying to protect.
Start by clearing everything out of the room. Strip it down to the bare bones, no electronics, no furniture. You want clean surfaces and full access to the walls, ceiling, and floor. If you’re working with drywall, you’re good to go. Concrete or brick will need some adjustment, but foil can still adhere with tape or adhesive spray.

Next, start applying your EMP shielding materials, either heavy-duty foil or foil-backed insulation. Work from the ceiling down, overlapping each sheet by at least two inches. Use conductive tape to seal every seam, every edge, and every corner. Think of it like wrapping a package, only you’re sealing out invisible energy instead of moisture.
Once the ceiling and walls are fully covered, do the same for the floor. Lay down foil and tape it tight. Then, if possible, add a layer of plywood, cardboard, or even old rugs to protect the foil from tearing. The point is to keep the shielding intact, not just now, but over the long haul.
For any air vents, install fine metal mesh that covers the opening fully and is taped into the surrounding foil. This allows for airflow without compromising the barrier. Windows should be covered completely; metal sheeting or foil-backed panels can do the trick. For doors, consider tacking thin metal sheets to the inside surface and sealing the frame edges with conductive tape or mesh.
Before calling it done, double-check every seam. Go over every line with tape and make sure there’s no foil lifting or loose edges. The tighter the enclosure, the better the protection. If you want to take it a step further, consider grounding the foil with a wire to a grounding rod; it’s not essential, but some folks feel better adding that extra layer.
Other Article: DIY Survival Gear That Works as Well as Pricey Prepper Tools
In the end, you’re not just lining a room, you’re creating a shielded zone that could keep your essential gear alive when everything else fails.
How to Tell If It’s Working
Once you’ve built your shielded space, it’s only natural to ask: Does it work? While there’s no perfect way to simulate an EMP at home (and you don’t want to), there are a few simple tests that give you a pretty good idea. The easiest is to use a portable radio. Turn it into an active AM or FM station, then walk it into your sealed room and shut the door. If the signal drops out or weakens significantly, that’s a solid sign your shielding is doing its job.
You can try the same with a cell phone. Call it from another device and see if it rings inside your Faraday cage room. Just keep in mind, cell signals are often stronger than AM radio, and might still sneak in through tiny cracks or thin shielding. If that happens, start checking the edges: door seals, foil seams, vent coverings. Any place you cut corners could be letting signals in.

No DIY test is perfect, but the goal here isn’t lab-grade results, it’s function. If your protected room cuts off most signals, it’s doing what it’s supposed to: blocking out harmful electromagnetic energy. And in a real-world EMP event, that could mean the difference between saving your essential gear or losing it all in one brutal surge.
What to Store Inside (And What Not To)

An EMP-proof room only works if you use it right, and that means being deliberate about what goes inside. You’re not building a man cave or a second pantry here. This is a place to protect the gear that gives you a tactical edge when the grid goes down. Keep it simple: a hand-crank or battery-powered radio, a flashlight, backup solar chargers, a spare phone (powered off), batteries, and a USB drive loaded with important documents, maps, and survival manuals. Small items, but in a blackout, they’re gold.
Other Article: Survival Guns That Work for Both Defense and Hunting
Avoid putting anything in that’s plugged in, powered on, or connected to your home’s wiring during everyday use. If it’s drawing power when the pulse hits, shielding won’t matter; it’ll likely be toast. That’s why keeping this space clean, minimal, and ready is key. Treat it like a vault for your emergency brain and communication tools. No clutter. No excess. Just the essentials that will still work when everything else doesn’t.
You don’t need to turn your whole house into a fortress to survive an EMP. Just one EMP-proof room, done right, can protect the tools and tech that matter most. In a worst-case scenario, that room becomes your edge. A small, shielded space that gives you light, information, and a plan when the outside world goes dark.
Don’t wait until it’s too late to start. This project is doable with basic materials, some weekend elbow grease, and a little know-how. You don’t need a fortune, you just need to take action. And when the lights go out for good, you’ll be glad you did.