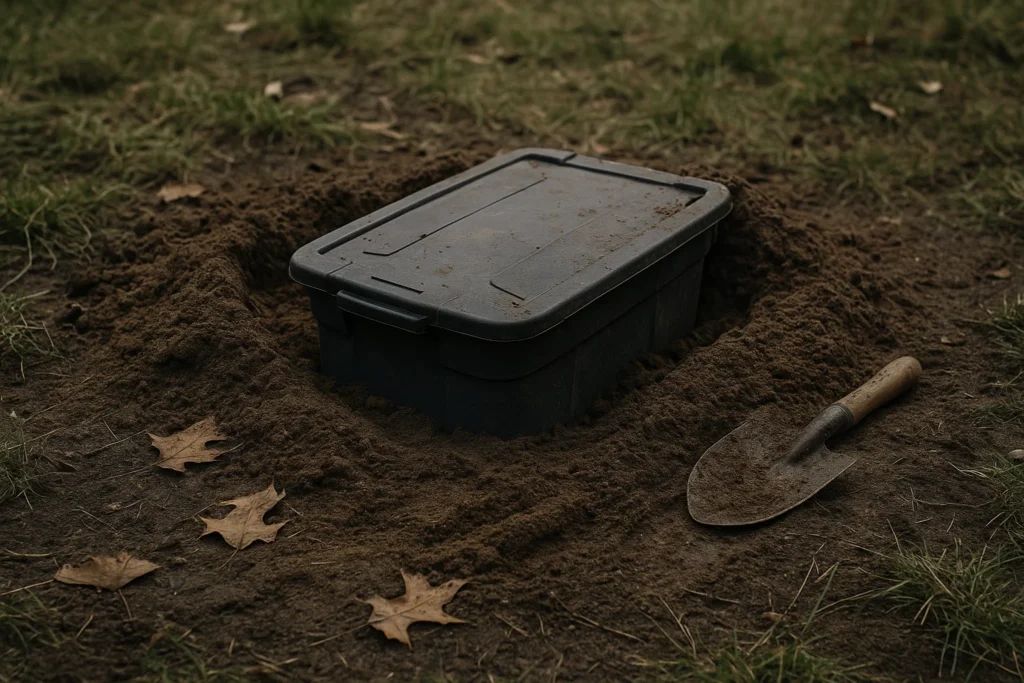
Most folks think they’re set once they’ve stockpiled enough food, water, and gear. But the truth is, having supplies isn’t enough. If things really go south, blackouts, economic collapse, civil unrest, it’s not just about what you’ve got… it’s about keeping it safe. Because once word gets out that you’re prepared, people will come looking. That’s why every serious prepper needs to know how to bury emergency supplies the right way.
You’d be surprised how many people store everything in closets, garages, or a safe under the bed. But in a real crisis, those are the first places people check, especially if they’re desperate. Burying your emergency gear gives you a chance to stay one step ahead. It’s not just about hiding stuff, it’s about making sure it’s still there when you actually need it.
Why Buried Caches Still Matter in 2025

If the past few years have shown us anything, it’s that stability is an illusion. We’ve watched cities lock down, shelves empty out, and entire communities turn upside down overnight. And when things go bad, they tend to go fast. That’s when desperation kicks in, looters, home invasions, even government seizures. The idea of someone knocking on your door and demanding access to your supplies used to sound paranoid. Now? Not so much.

That’s why how to bury emergency supplies has become one of the most important skills for modern preppers. Hiding your stash underground gives you a level of protection that no gun safe or padlock can offer. When done right, it’s quiet, discreet, and completely off the radar. And the best part? Nobody knows it’s there unless you tell them.
Too many folks still rely on obvious storage spots, closets, garage shelves, a safe under the bed. Others think a fake can of soup or a hollowed-out book is enough to fool a thief. But if someone’s already in your house, you’ve already lost. True concealment starts outside, beneath the dirt, in places no one would ever think to look. That’s the kind of thinking that keeps your supplies safe when it really counts.
The Biggest Mistakes People Make When Burying Supplies
Burying your gear sounds simple, dig a hole, drop it in, cover it up. But that kind of thinking is what gets preppers burned. One of the biggest mistakes people make is creating patterns without realizing it. If you always head to the same spot with a shovel, or you keep checking your cache every couple of weeks, you’re practically drawing a map for anyone watching. In a real crisis, even curious neighbors can turn into scavengers. Discreet movement matters.
Another issue? Using the wrong kind of container, or worse, not burying it deep enough. A cheap plastic tote from the hardware store isn’t going to hold up when the ground shifts, moisture builds, or rodents start sniffing around. And shallow burial? That’s asking for trouble. Between heavy rain, erosion, and good old-fashioned dumb luck, you’re just increasing the odds of someone stumbling across your cache.
Other Article: Hidden Spots to Store Emergency Supplies at Home
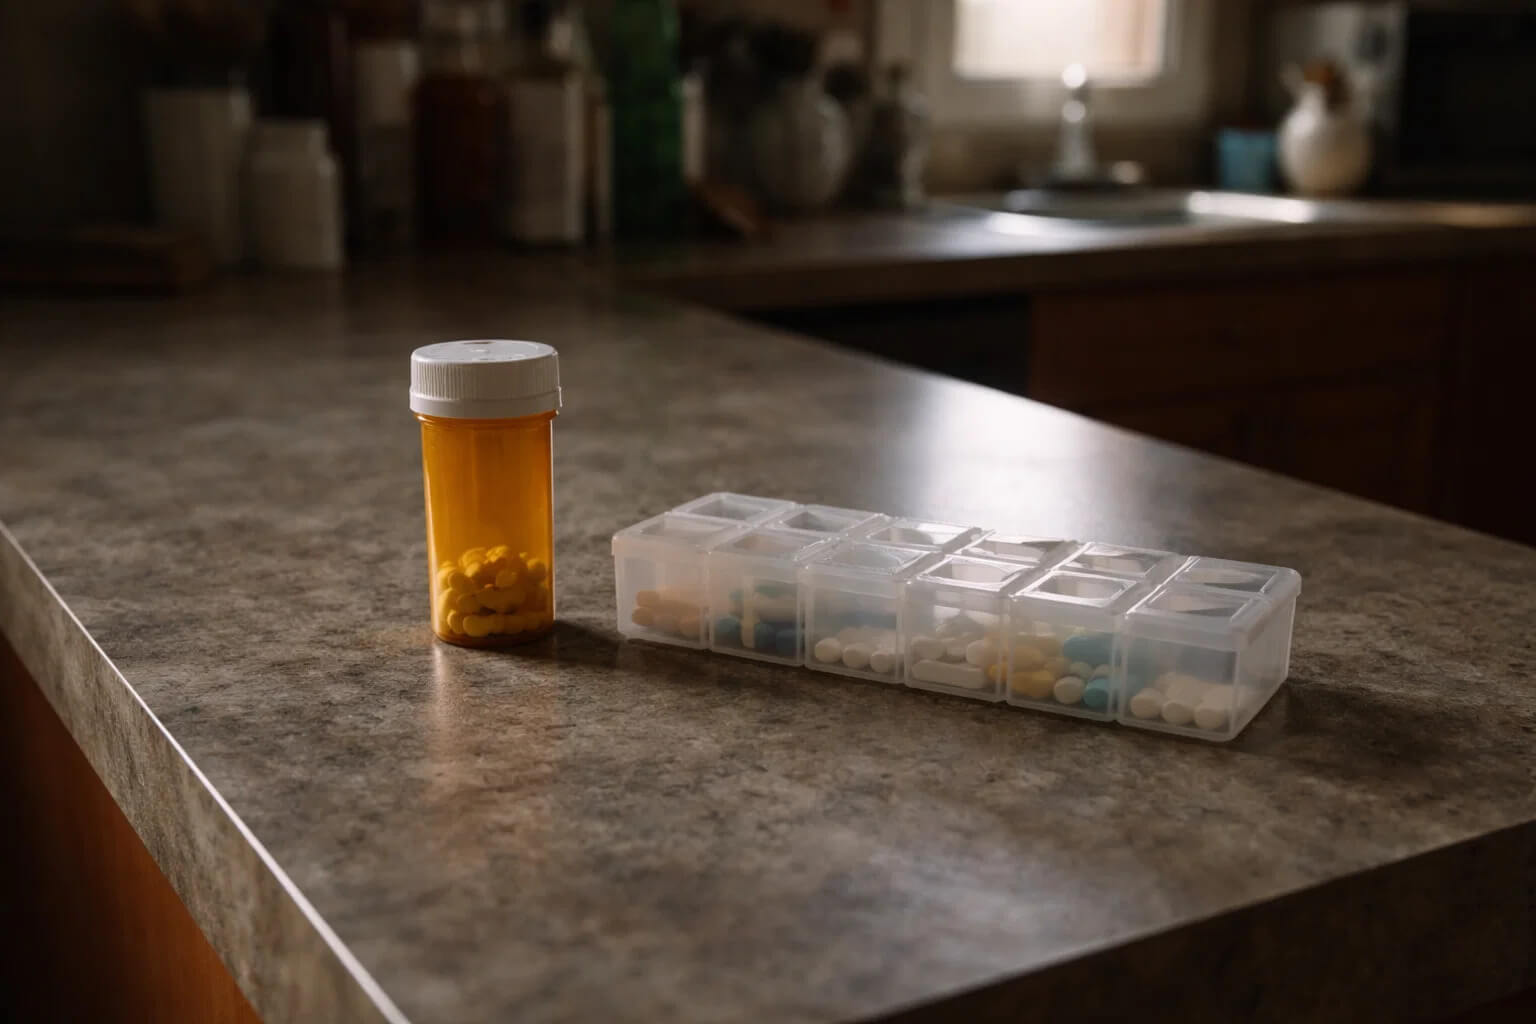
Moisture is the silent killer of buried supplies. It doesn’t take long for water to destroy your gear, especially food, documents, or anything electronic. People often forget to double-bag items, skip desiccant packs, or use containers that aren’t properly sealed. If you’re serious about learning how to bury emergency supplies, proper waterproofing isn’t optional, it’s essential.
Then there’s the aftermath. Freshly turned soil, leftover packaging, footprints, even a trail from the shovel to your cache site, all of it can give you away. You need to make it look like nothing ever happened out there. No trash, no drag marks, no signs you were there. If it looks suspicious to you, it definitely will to someone who’s hungry, desperate, and paying attention.
Where (and Where Not) to Bury Your Emergency Gear
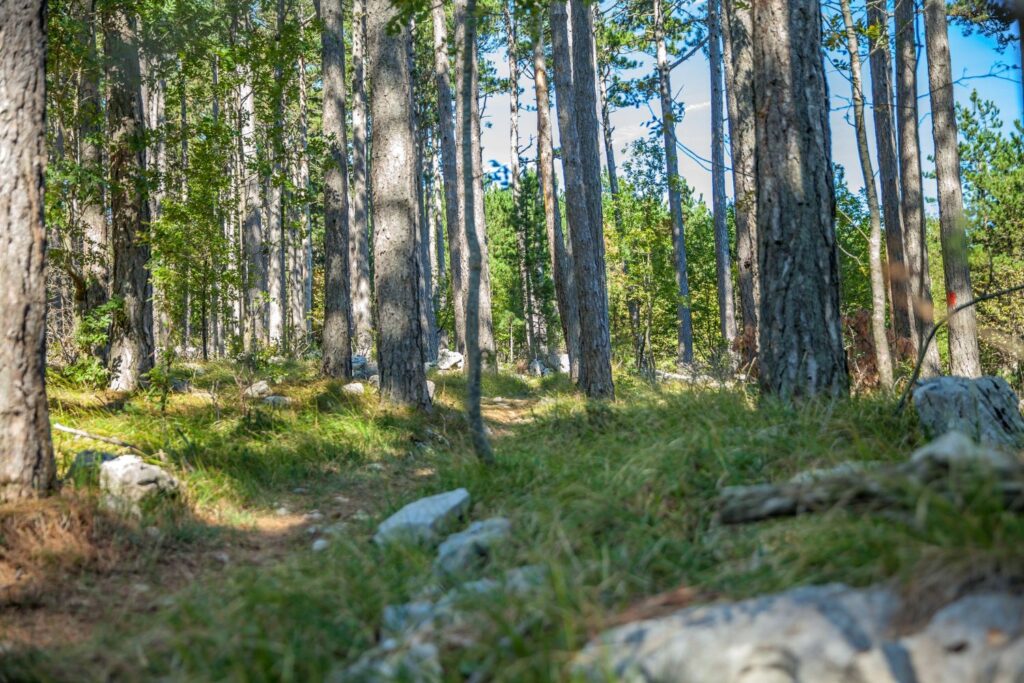
Picking the right spot can make or break your entire setup. You want somewhere that’s out of the way, but not out of reach. A good rule of thumb? Think like a thief, if it’s easy to find, it’s not secure. The best locations tend to be along your bug-out routes, on private land if possible, or tucked away near wooded areas or tree lines where there’s plenty of natural cover. It should be quiet, undisturbed, and not a place anyone would casually wander through.
Now, distance is a tricky thing. Too close, and your stash is easy to spot or stumble over. Too far, and you may not reach it when you actually need it. The sweet spot is somewhere you can get to on foot without drawing attention, but far enough from your main shelter or home that it won’t be found during a quick sweep. Keep in mind, you might need to reach your cache under pressure, so make sure it’s accessible in all seasons, even if roads are blocked or surveillance is active.

There are also spots you need to avoid completely. Don’t bury anything near utility lines, power poles, or areas that might be torn up for construction. Flood zones are a no-go, too, one hard rain can ruin your entire cache if the ground shifts or your container takes on water. Stay away from public trails or common hunting spots. If you’re not the only one who walks through there, it’s not the right place.
Natural cover is your friend. Thick brush, tree roots, uneven terrain, these things make a site harder to scan and less likely to be disturbed. A fallen log or cluster of rocks might be just enough to break up the visual pattern from above. Just make sure your spot still allows for easy digging and recovery. You don’t want to be hacking through roots in the dark while trying to stay quiet.
When you’re finished, walk away like nothing ever happened. Scatter leaves, brush, or natural debris to hide any sign of fresh digging. Don’t leave behind shovel marks, tool impressions, or trash. And definitely don’t leave a straight path in or out. If someone spots your trail and gets curious, all that work burying your gear won’t count for much.
The Right Way to Bury a Cache Without Getting Noticed

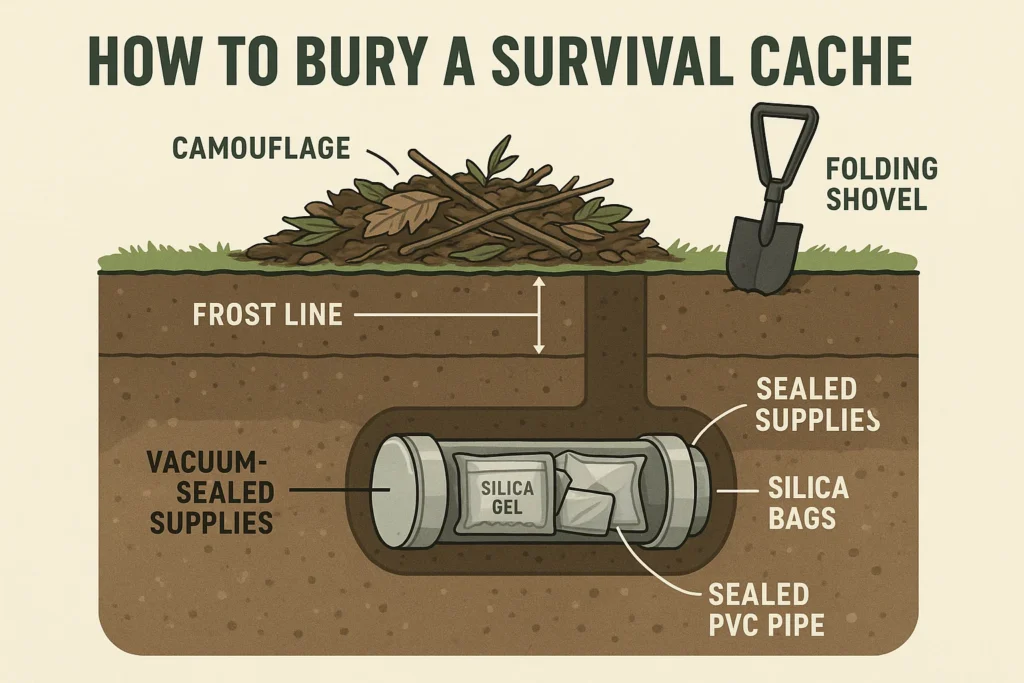
If you’re serious about how to bury emergency supplies the right way, it starts with choosing the right container. Forget thin plastic bins or anything you’d use for weekend storage. You want something built to last, think thick-walled PVC pipe with sealed caps, ammo cans double-packed in waterproof bags, or rugged plastic barrels with tight, weather-resistant lids. Inside, everything should be layered: vacuum-sealed gear, silica gel packs, Mylar bags, anything that protects from moisture and time. It’s not just about getting it underground; it’s about making sure it still works when you dig it up.
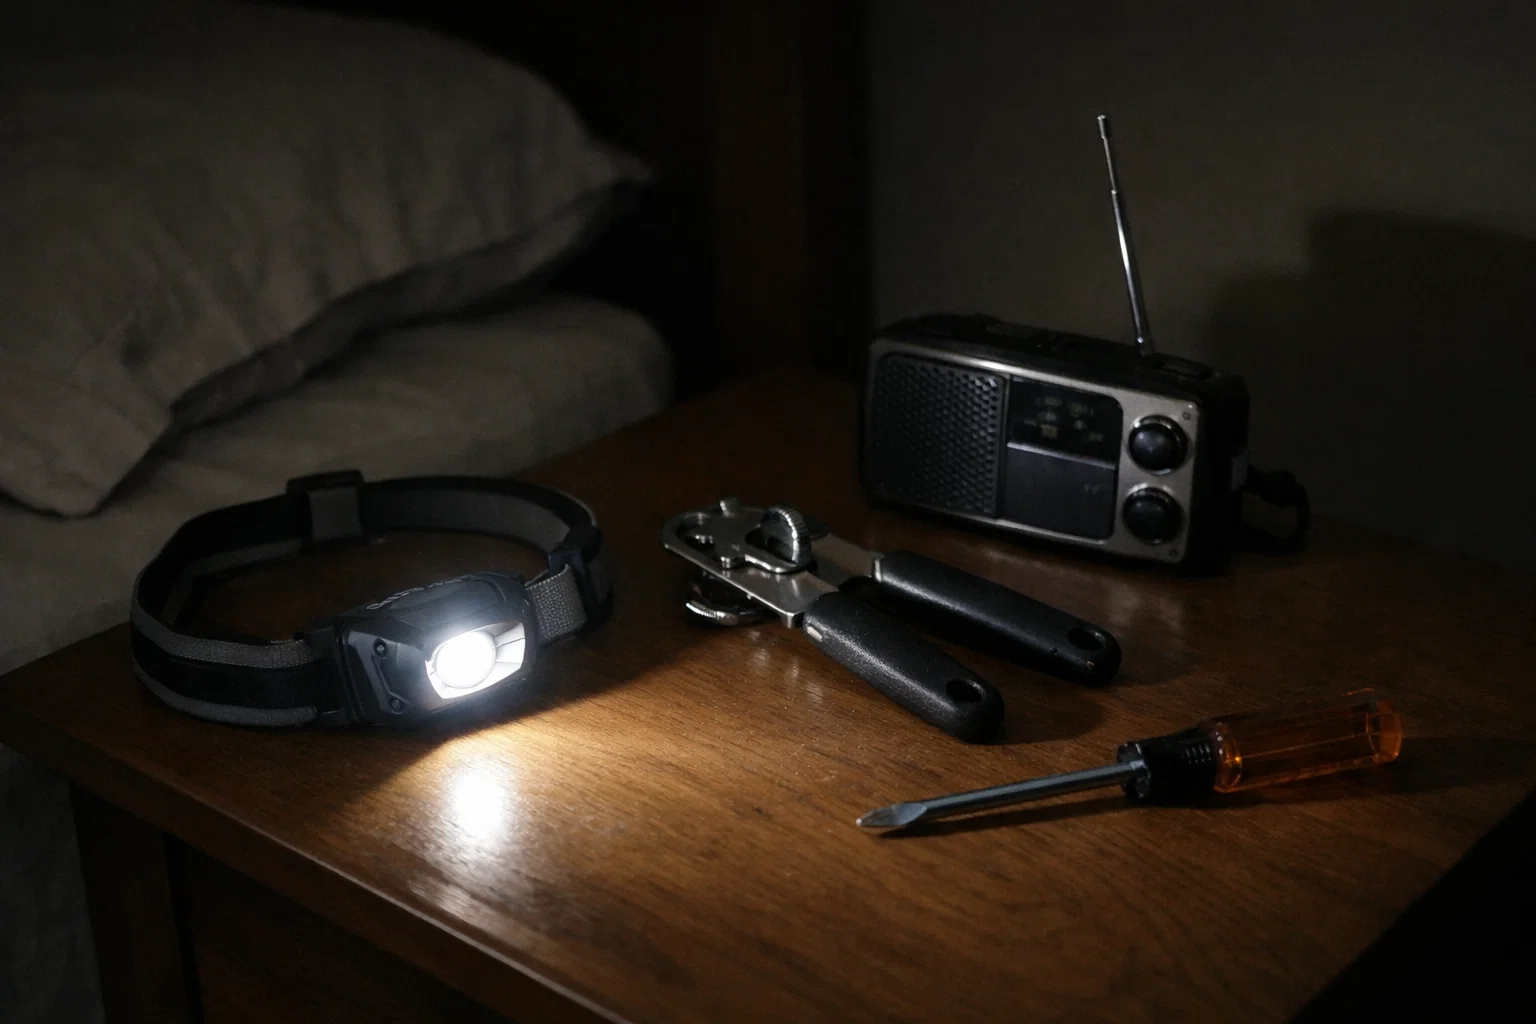
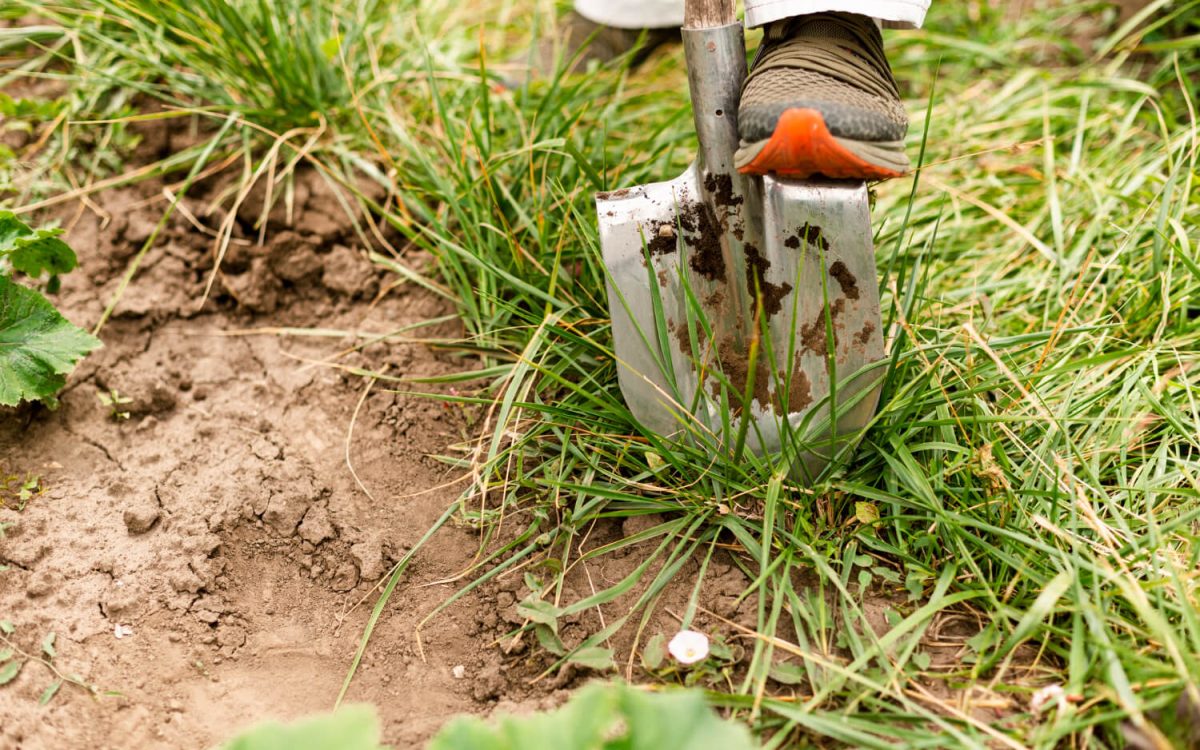
As for tools, keep it simple and quiet. A good folding shovel is your best friend, compact, strong, and easy to stash in your pack. For deeper caches, a post-hole digger works well, especially if you’re prepping in soft soil. If you’re caching in a remote spot, discreetly carry your tools, wrapped in old cloth or inside an everyday duffel bag. No one needs to see you walking around with a shovel in broad daylight.
Depth matters more than most people realize. In colder climates, bury your cache below the frost line to avoid freezing and shifting. But go too deep, and you risk never getting it out in a hurry. Aim for around three feet if the soil allows, deep enough to stay hidden, shallow enough to dig out quickly. And always test your recovery time. You don’t want surprises when you’re short on daylight or dealing with an emergency.
Once your container is in the ground, it’s time to erase all evidence. Spread out the displaced dirt evenly, then cover the area with natural debris, leaves, sticks, pine needles, whatever blends with the surroundings. Avoid overdoing it. A spot that looks too “perfect” can be just as suspicious as one that’s freshly disturbed. Walk over the area from different angles and fix anything that stands out.
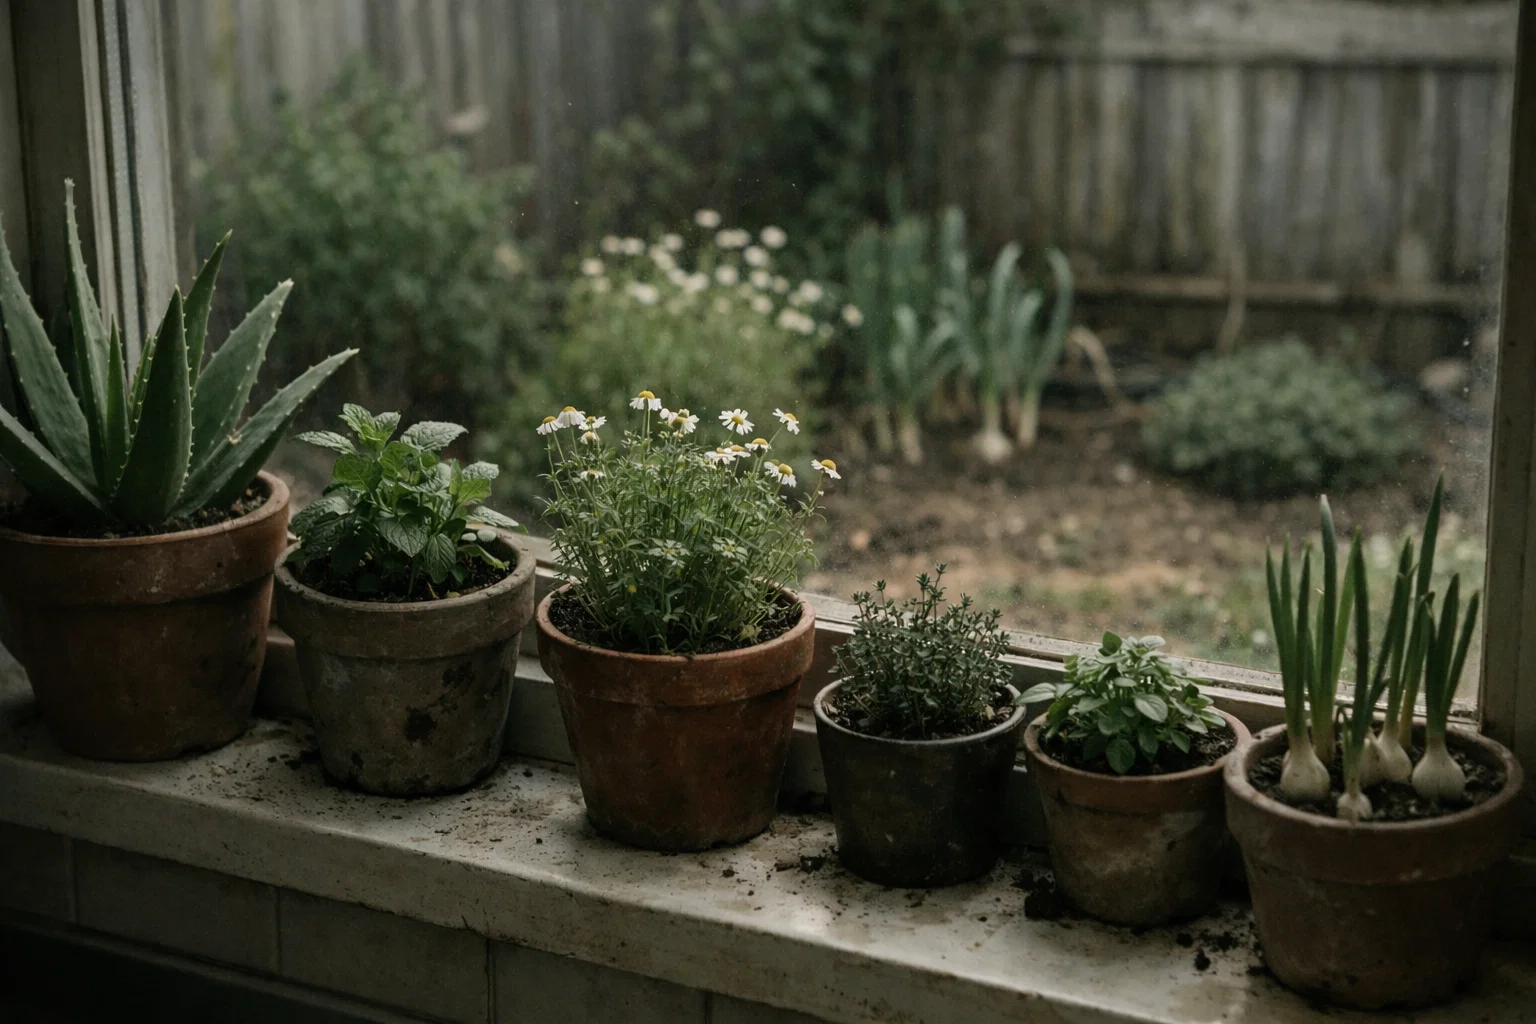
Other Article: Grow These 5 Plants Before a Crisis Hits
One last thing: think about what might attract attention long after you’re gone. Metal detectors can pick up larger items, so if you’re hiding anything metal-heavy, consider surrounding it with scrap metal above or around it as decoys. And animals? They’re more curious than you think. Use airtight containers and skip anything that smells like food unless you’ve sealed it tight. Rodents will chew through your security faster than a thief.
How to Remember Your Cache Without Leaving a Trail
It doesn’t matter how well you hide your gear if you can’t find it when the time comes. But marking the spot with a stick, rock, or string? That’s rookie stuff, and it’ll get your cache found by someone else. The smarter move is to use discreet mapping. Draw your own hand-marked map on paper, nothing digital, and keep it somewhere safe. Use landmarks that won’t change: big trees, rock formations, fence posts, or even the shadow line of a structure. Don’t write “cache here.” Use symbols or notes only you’ll understand.

One of the best tricks out there is triangulation. Pick three fixed objects around the area, things that aren’t likely to disappear or move. Then mark the exact number of steps or paces from each of those points to your cache. This way, even if one landmark is gone, the other two can help you find it again. It’s old-school, but it works, and it doesn’t leave any obvious trail behind.
The worst thing you can do is log the location in your phone, tablet, or any cloud-based system. GPS metadata can be tracked, hacked, or lost altogether. If you do use a GPS unit to mark the coordinates, keep it offline and store the data locally, never tied to your personal accounts. When it comes to remembering where you hide survival supplies underground, your brain and a paper backup are still the safest tools you’ve got.
Smart Strategies for Long-Term Cache Success
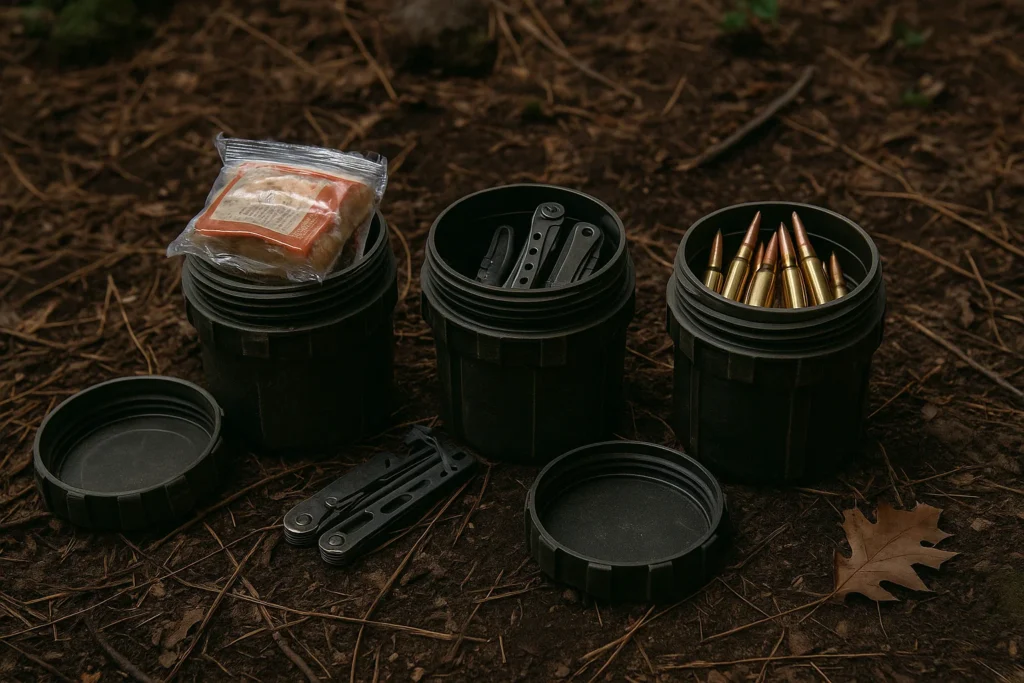
One of the biggest mistakes preppers make is putting everything into a single stash. It might seem easier, but it’s risky. If someone finds that one cache, or if it floods, gets dug up by animals, or becomes inaccessible, you lose it all. That’s why it’s smarter to spread out your gear across multiple small caches. Think of it like insurance. Even if you lose one, you’ve still got backups. And if you’ve really nailed down how to bury emergency supplies, setting up a few more won’t take much extra effort.
Each cache should serve a purpose. One might hold food and clean water. Another could carry tools, fire-starting gear, or barter items like lighters or pain relievers. A third might be for defense, ammo, pepper spray, maybe even a small backup weapon depending on your local laws. This approach also keeps you flexible. If you’re on the move, you only need to hit the cache that fits the situation instead of hauling everything at once.
Other Article: 14 Forgotten Cooking Methods You Can Use When SHTF
Checking your caches is smart, but doing it too often can create visible trails, or worse, habits that others notice. Try to mix up the times and routes you use to visit them. No patterns, no routines. Make each check feel random, and only go when there’s a real reason. If you’re consistent about staying inconsistent, those supplies will stay right where you left them, safe and out of sight.
At the end of the day, a good buried cache comes down to three things: location, concealment, and durability. You’ve got to pick a spot that stays off the radar, seal your gear like it’s going to sit there for years, and make sure no one, not even you, leaves a trail behind. If you’ve been putting off learning how to bury emergency supplies, now’s the time to get it done right. Because once the grid goes down or panic sets in, the window to move quietly closes fast.
You don’t need to bury a bunker’s worth of gear tomorrow. Just start with one solid, well-hidden cache in a smart location. Build from there. The sooner you act, the better your odds when things go sideways. Because in a real crisis, the only supplies that count are the ones no one else can find.